

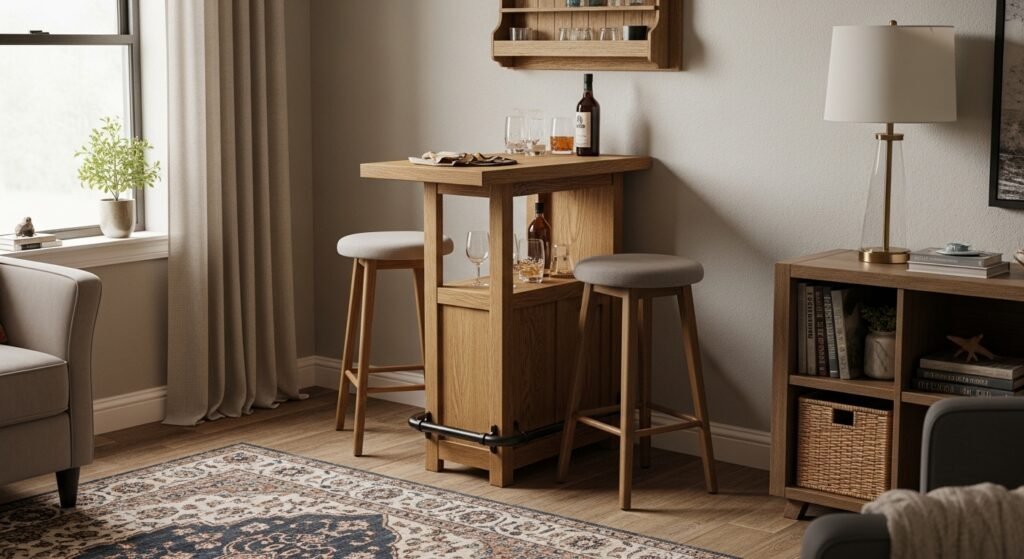
Spent $400 on a coffee table. Room still looked off. Spent $35 on a throw and three candles. Suddenly everything clicked. That jolt is the same one I chased when I built my first mini bar, and most of these ideas are the fixes that actually worked in a real apartment, not a staged photo shoot.
These ideas lean cozy-modern with a little farmhouse grit. Most builds sit between $50 and $250, and they work in living rooms, corners of a bedroom, den nooks, or even a wide entryway where guests gather. I aimed for renter-friendly swaps where possible.
Industrial Wall-Mounted 2×4 Frame For Standing Drinks
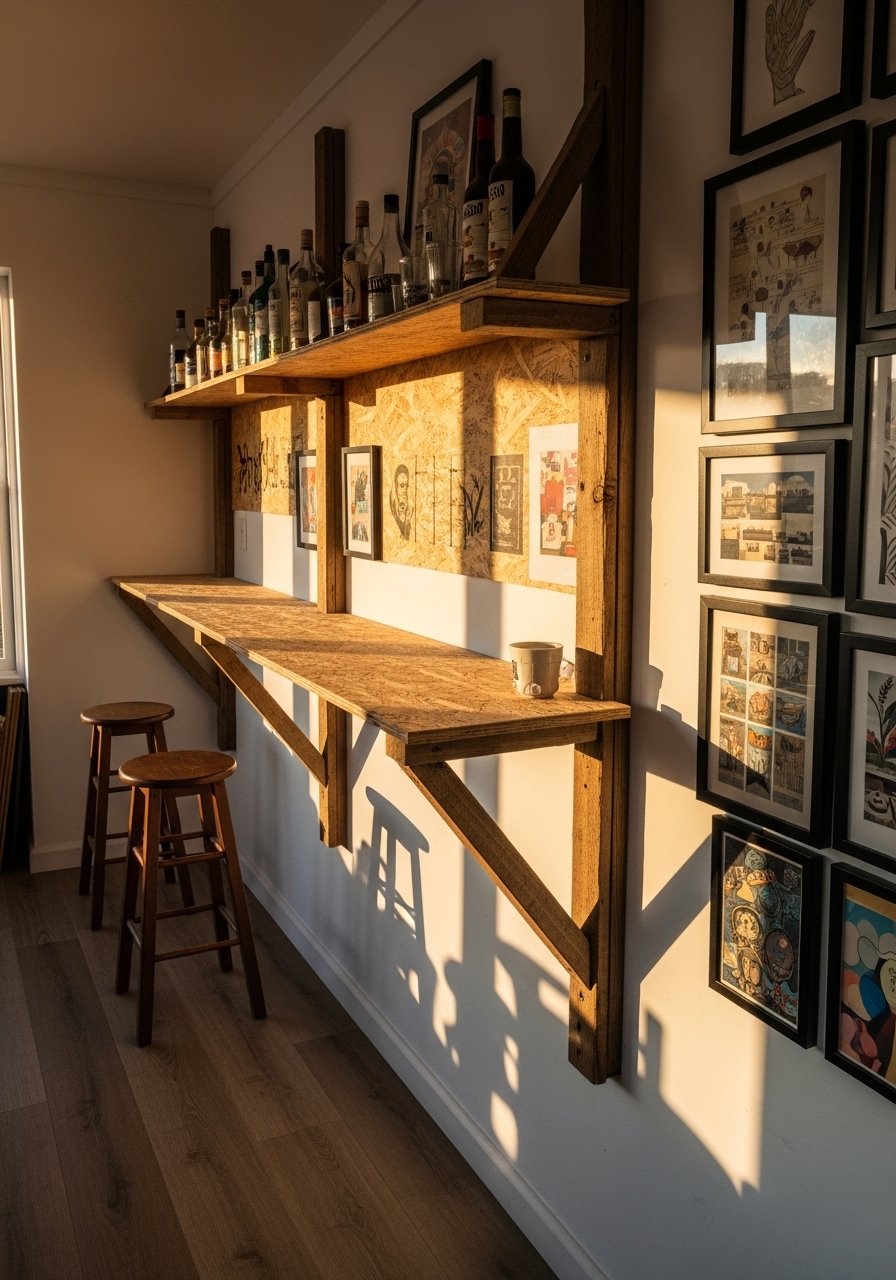
Mounting a 2×4 frame to the wall was my first "I can do this" moment. Cut the bottom and top plates to the exact length, set studs every 16 inches on center, and you will not end up with a wobbly surface. I aimed for 44-inch stud height after adding top plates so people can stand comfortably. Use a 3/4-inch plywood top and screw from underneath so the top stays flat under bottles. I used a Kreg jig when attaching face trim, and it hides screws clean. One rookie mistake is skipping pilot holes and splitting the wood. 3-4-inch wood screws and a pocket-hole jig made this feel pro on a weekend.
Rolling Freestanding Bar Cart Base For Flexibility

If you are short on space, a bar on wheels saves the day. My cart base uses two 2×4 bottom plates and locking caster wheels so it behaves like furniture but moves for parties. The top overhang is about 12 inches to give knees room. I recommend using locking-caster-wheels that hold steady under leaned-on elbows. I finished mine with a light stain so it reads less DIY. Rolling carts let you steal the scene from idea two or three and relocate it. A common mistake is buying cheap casters that squeak. Locking caster wheels solved that in one afternoon.
Rustic Pallet Wood Clad Mini Bar For Texture
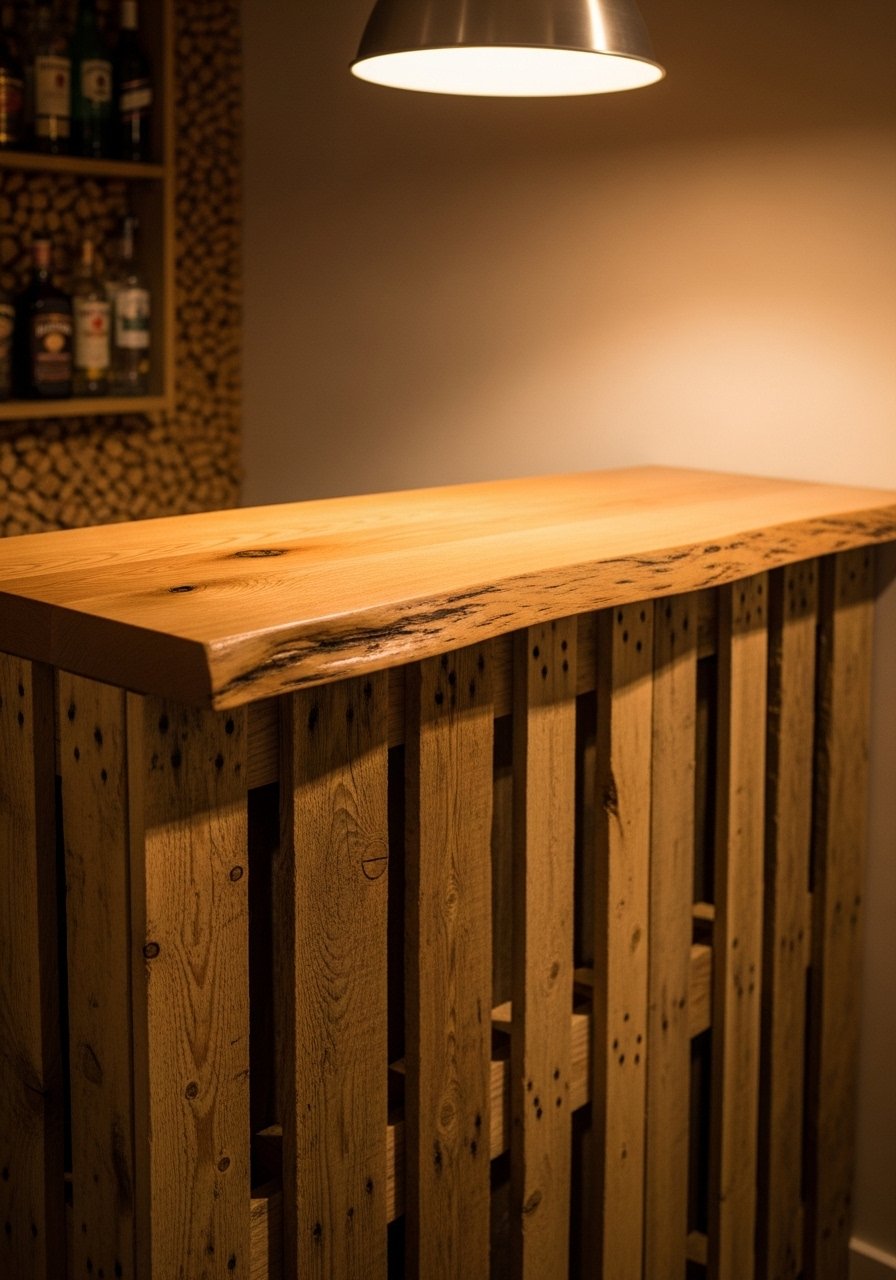
Pallet wood will hide imperfect cuts and give the bar instant character. I used pallet slats over a simple frame and added an oak strip edge for a cleaner look. Pallet wood shows up in about 7 out of 10 of these builds now, and for good reason. Replace felt shelf liners with thin cork sheets if your felt frays from glass rings. One hiccup I ran into was uneven slat thickness, so plan to plane or sort boards by thickness before gluing. If you want a quick buy, pallet wood slats and cork-shelf-liner are the pair I used.
Built-In Cabinet Hack With Mini Fridge Slot For Tight Kitchens
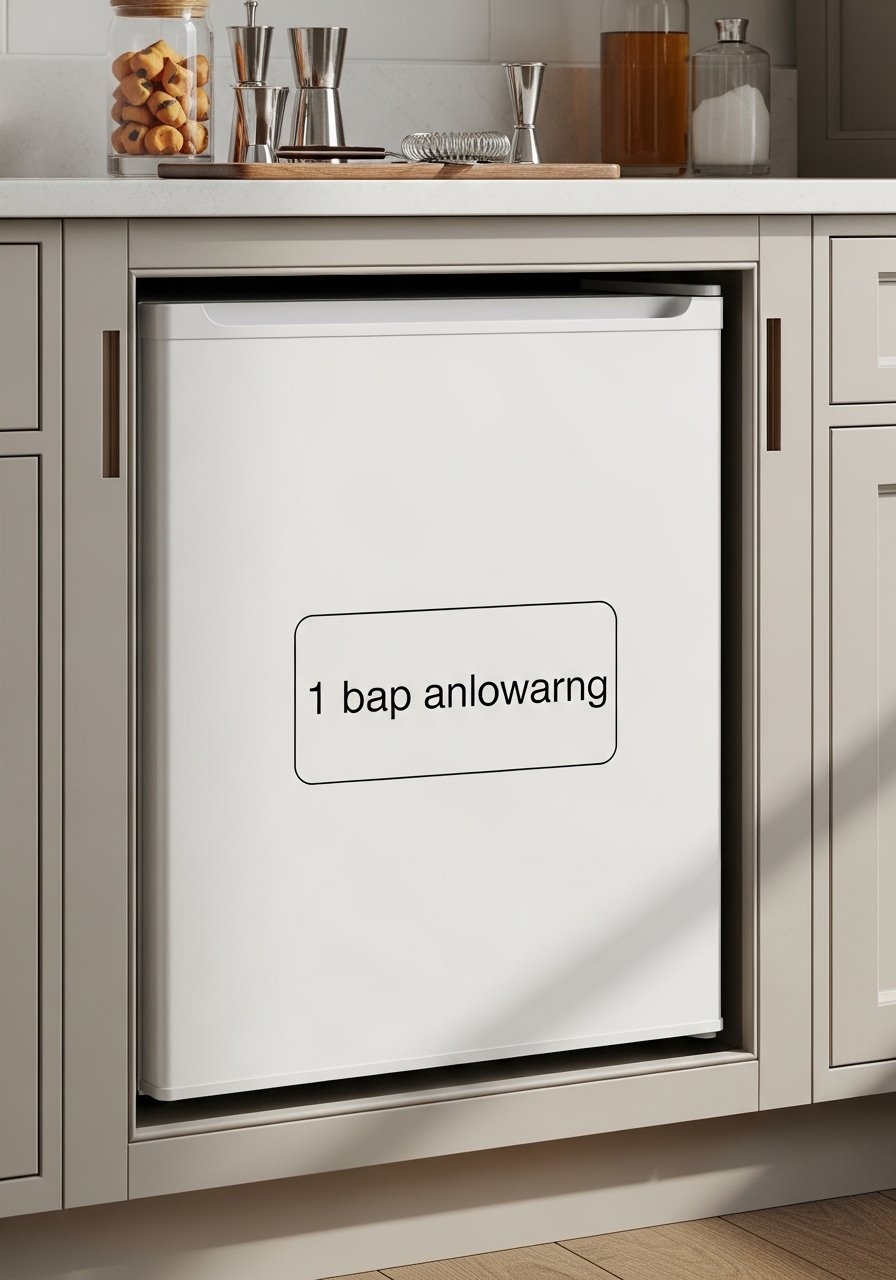
Turning a stock base cabinet into a bar with a fridge slot made our tiny kitchen feel custom without demo. I framed the opening 1 inch wider than the fridge so the door swings freely. Measure the fridge footprint with tape first and leave an extra inch on each side. Use shims rather than wall anchors so this is renter-friendly and reversible. A common oversight is not venting under the unit. I cut a small vent slot at the back and used a simple vent grill. For the fridge I used a compact model that fits snugly. 3-2-cu-ft mini fridge was the size that worked in my cabinet.
LED-Lit Glass Rack Bar Top For Nighttime Ambiance

Lighting makes the bar feel intentional after dark. I installed a battery-powered LED strip under a glass rack so there was no wiring and the landlord did not argue. Battery LED strips are a renter-friendly trick most builds miss. I layered the light with a small table lamp on the bar for a more finished look. One mistake is overdoing color temperature. Stick to warm white instead of a harsh blue. If you want this exact ease, try a battery-powered LED strip and an under-cabinet glass rack.
Light-Stained Plywood With Molding Trim For a Clean Look

Staining plywood correctly changed everything for me. Pre-stain conditioner prevents blotchy patches on cheap plywood, and sanding with the grain before stain keeps the finish even. I added corner molding trim to hide raw edges and it reads like a piece you paid much more for. One real detail most tutorials skip is sanding the plywood edges at the same 120-grit direction as the top; mismatched sanding shows up under gloss. If you want the supplies, a wood stain kit and corner molding trim will get you what I used.
Mini Fridge Recess With Vent Cutout For Streamlined Storage

Recessing the fridge keeps a clean silhouette. The rule I follow is add one inch total on each side for clearance and cut a vent slot that lines up with the fridge vent. I framed with 2x4s and sheathed with 3/4-inch plywood so the top would not sag under weight. A frequent fail is putting the fridge in a sealed box with no airflow. If you want to hide the unit but keep it cool, leave the vent and an inch gap at the back. I used a simple vent grill rather than a complicated louver. Mini fridge vent grill made the cut look intentional.
Brace-Stabilized Shelf Bar For Heavy Glassware
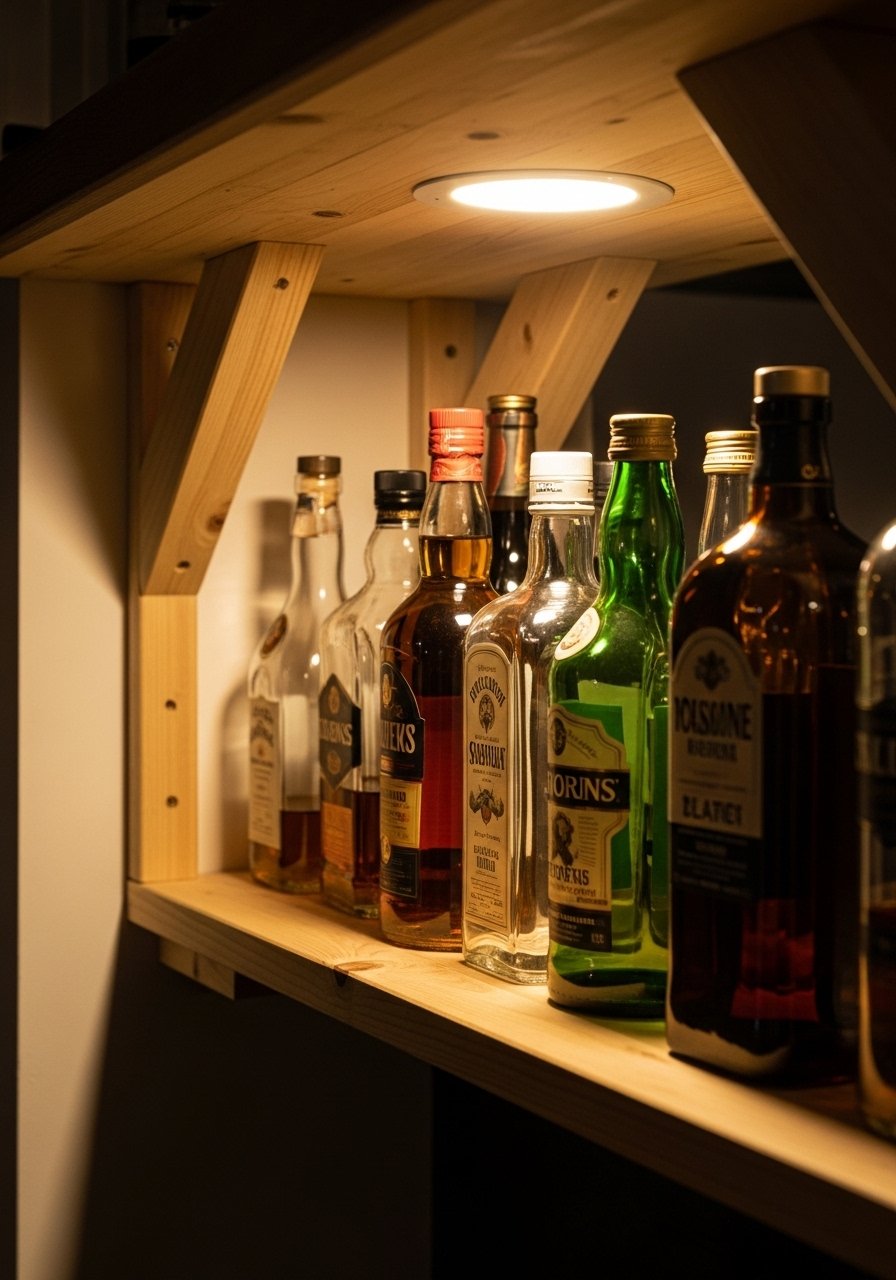
If you or your friends are bringing whiskey decanters, brace the shelf. I screwed 2×4 stabilizers under the top plate every 16 inches and the surface no longer flexed when someone leant on it. Pilot holes halfway through before driving screws stopped the boards from splitting. The common mistake is using thin MDF for a heavy load. Stick with 3/4-inch plywood or solid wood where weight matters. A small drill-bit set and a box of 2-5-inch wood screws are the basics that saved my build.
Oak Strip Edged Pallet Top For Contrast And Clean Lines
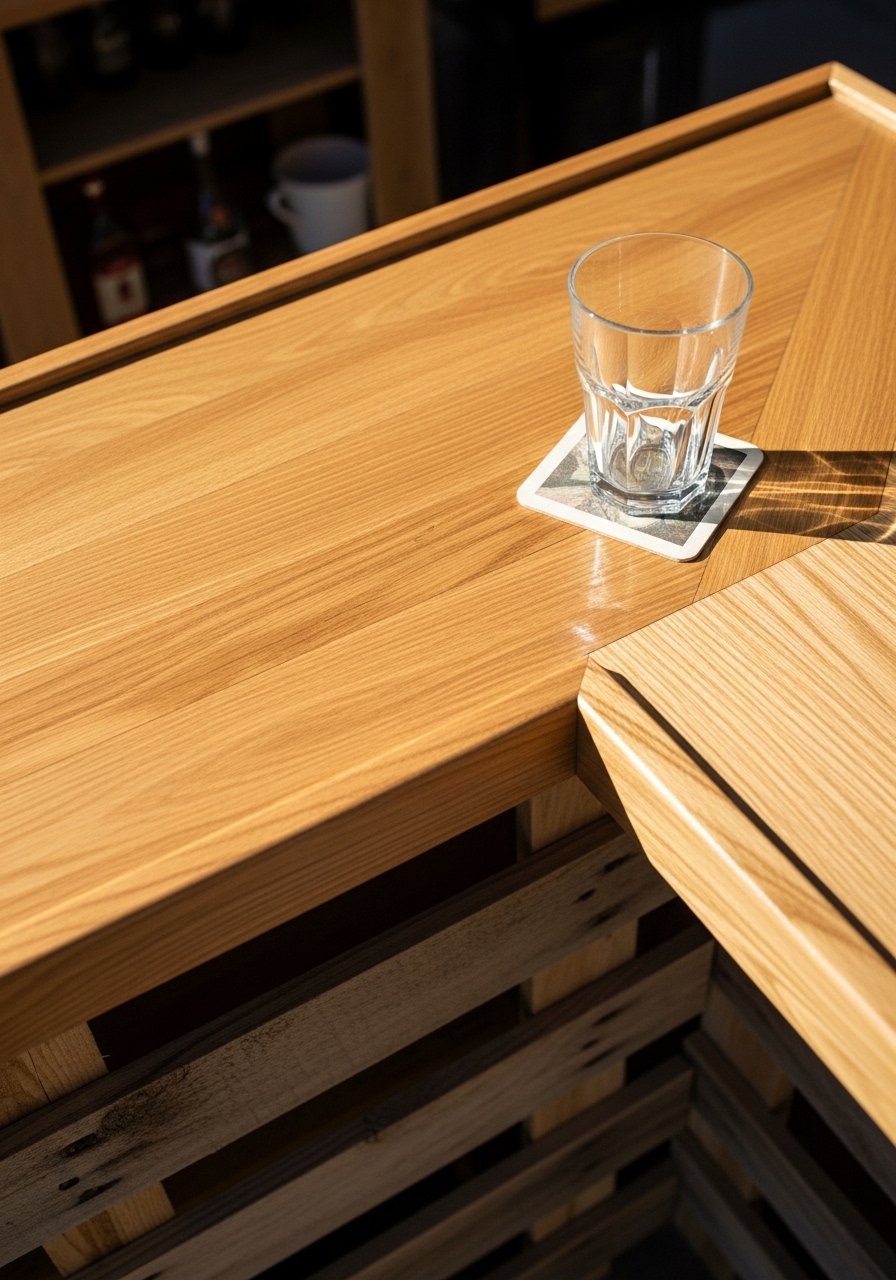
I wanted rustic sides without a rough top. Adding a white oak strip around a pallet wood top gives you both texture and a finished edge. Glue the oak strips and clamp overnight, then plane the joint smooth. One small hack most people skip is gluing the oak only on the top and screwing the pallet slats to the frame so the oak can be replaced later if it dents. If you are short on tools, prefinished oak edge banding also works. White oak edge strips are what I used for a clean contrast.
Pilot Hole Bottom Support Frame For No-Split Assembly
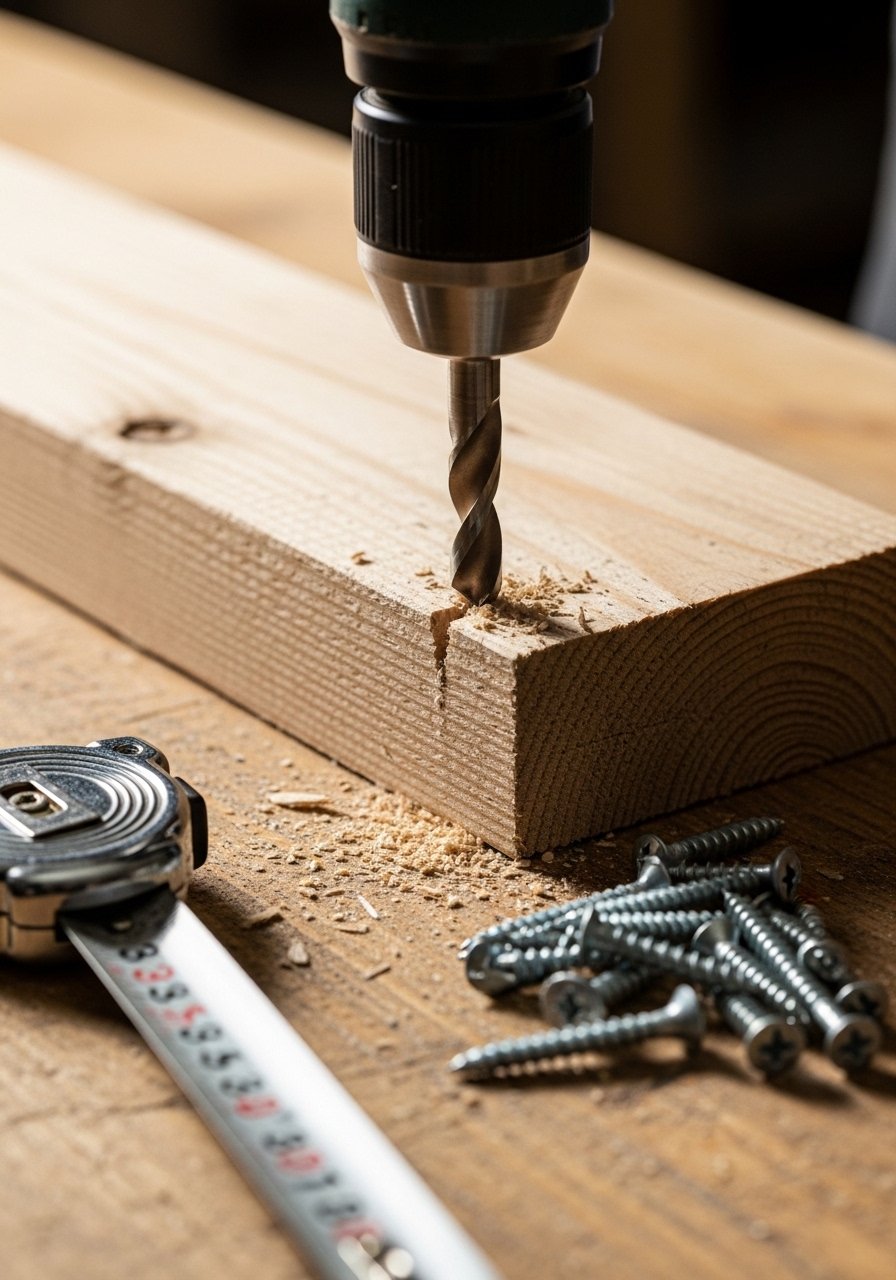
This sounds boring but it is a party saver. I drilled pilot holes halfway through the front boards before driving in screws to prevent splits. It also helps the frame pull tight and stay square. I once skipped this step and had a face board crack that required a patch and stain matching. Use a bit one size smaller than the screw shank and clamp pieces while you drill. For the exact tools, a drill-bit set and a pack of wood clamps are worth the money if you plan to build more than one thing.
Framed Face Cover Over Fridge For A Streamlined Front
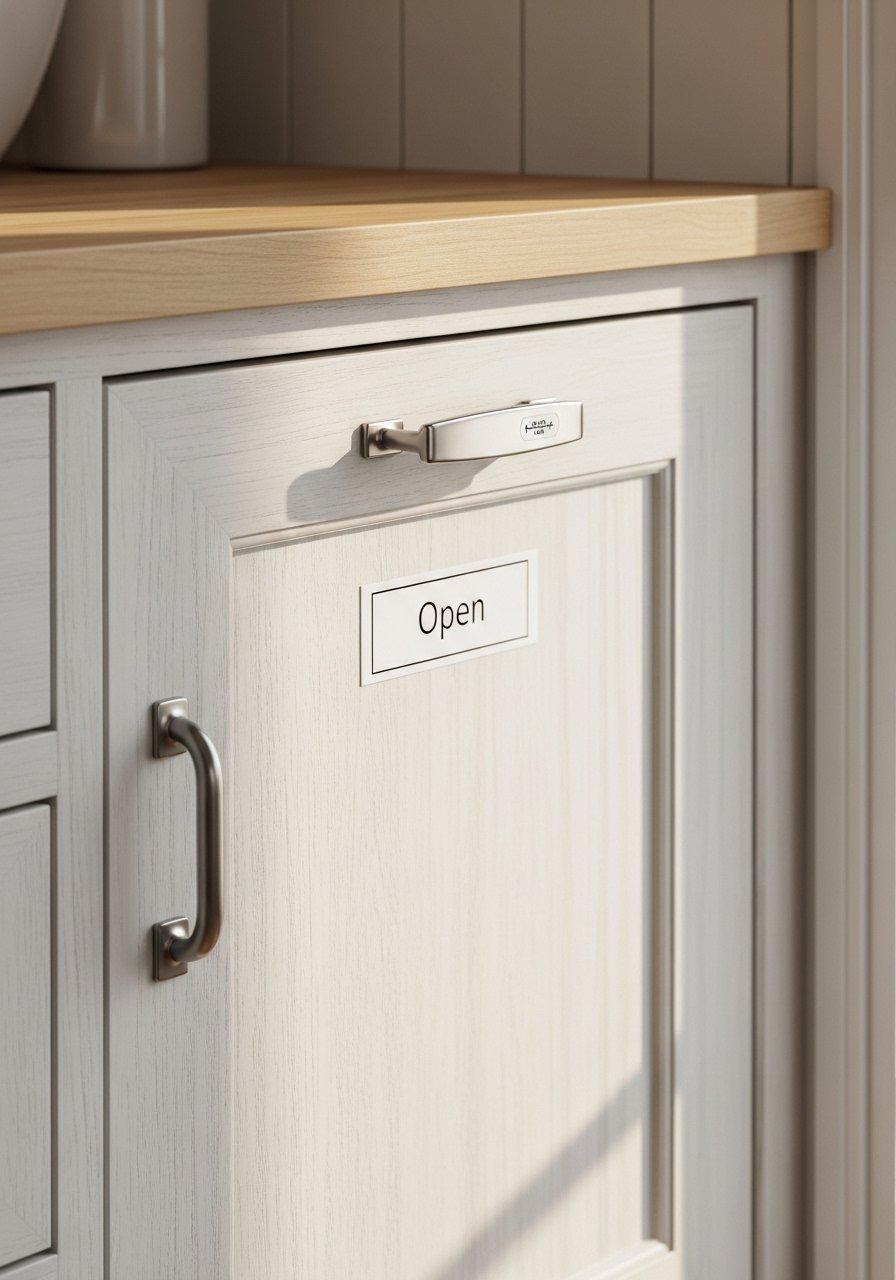
Hiding the fridge behind a framed face gives a tidy look. I built a plywood face 44 by 25 inches and attached it with hinges so the fridge stayed accessible. If you do this, shim the frame with 2x4s so the face is perfect and the door does not rub. A common error is cutting the face to the fridge size exactly. Leave a 1/8-inch gap on each side to allow for door swing and seasonal expansion. This reads like a built-in but comes apart if you move. Plywood face panel options are easy to source.
Your Decor Shopping List
Textiles
- Honestly the best $40 I have spent. Chunky knit throw in cream (~$35-55). Drape over a stool for instant softness
- 22-inch down-filled linen pillow covers, set of 2, neutral colors, toss them on nearby seating
Tools & Materials
- For the frame and top: 3-4-sheet 3-4-inch plywood panel and 2×4 lumber pack
- 2-5-inch wood screws, box and a drill-bit set
Appliances & Finishes
- Danby 3-2-cu-ft mini fridge or similar, remember to leave 1 inch clearance each side for fit
- Clear satin polyurethane for a wipeable, pet-friendly top
Lighting & Extras
- Battery-powered LED strip lights for renters
- Locking caster wheels, set of 4 for a rolling base
Similar at Target or HomeGoods for textiles and small accessories.
Shopping Tips
White oak reads current right now. White oak floating shelves look modern without feeling cold.
Grab velvet pillow covers for $12 each. Swap them seasonally and the whole area feels different.
Curtains should either puddle or kiss the floor, not hang mid-shin. 96-inch linen panels are the right call for standard 9-foot ceilings.
Replace felt with cork for shelves that see rings. Thin cork shelf liner stays neat longer in real use.
Frequently Asked Questions
Q: How much room do I need for a mini fridge in a built-in slot?
A: Add one inch total on each side so doors swing and you can shim for level. Tape the fridge footprint on the floor first to confirm and leave a small vent slot at the back.
Q: Can I do a renter-friendly mini bar without drilling into the wall?
A: Yes. A freestanding cart or a wall-lean bar built to lean on studs with anti-tip straps that attach to furniture not drywall works well. Battery LED strips keep the look night-ready without wiring.
Q: What prevents a plywood bartop from sagging under bottles?
A: Use 3/4-inch plywood and add 2×4 stabilizers under the top every 16 inches. Screwing from below instead of just gluing keeps the top flat when people lean on it.
Q: I have pets, what finish should I use on the bartop?
A: Use a clear satin polyurethane and two coats. It wipes clean and hides hair better than a matte finish. Let it cure fully before putting glasses down.
Q: How do I stop wood from splitting when I drive screws?
A: Drill pilot holes about halfway through the board using a bit slightly smaller than the screw shaft. Clamp pieces first. That routine saved me from patch jobs more than once.