

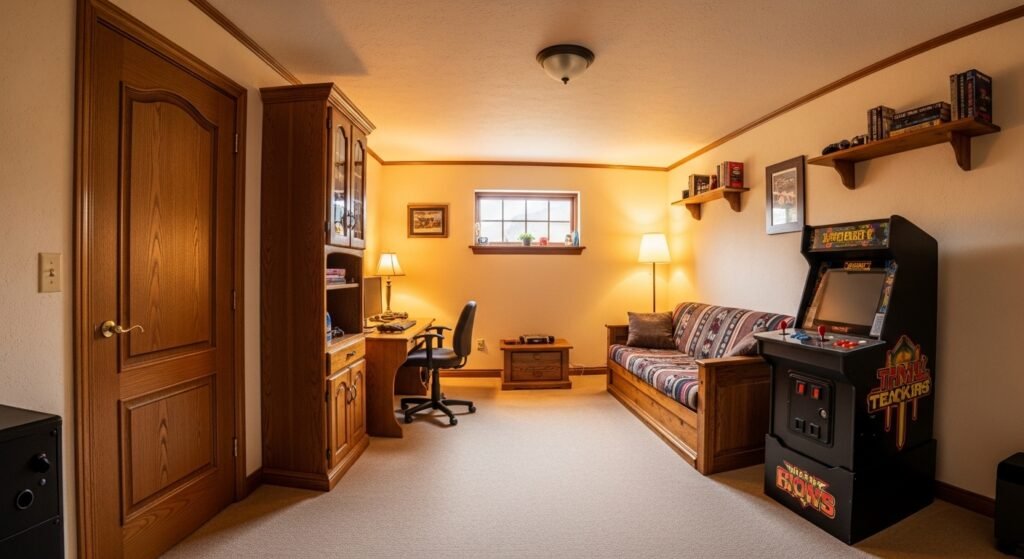
Spent $400 on a flashy desk once. The whole setup still screamed tech lab, not a room I wanted to hang out in. Swapped out one plastic accent for a wood side table, added a throw and a table lamp, and the space finally felt like a room you could actually relax in after a long session.
These ideas lean toward a warm traditional vibe with classic lines and a few modern touches. Most projects are under $100, with three splurges in the $150 to $300 range. They work in bedrooms, basements, living rooms, or any corner you carved out for a console or PC.
Traditional Arcade Corner With Warm Wood
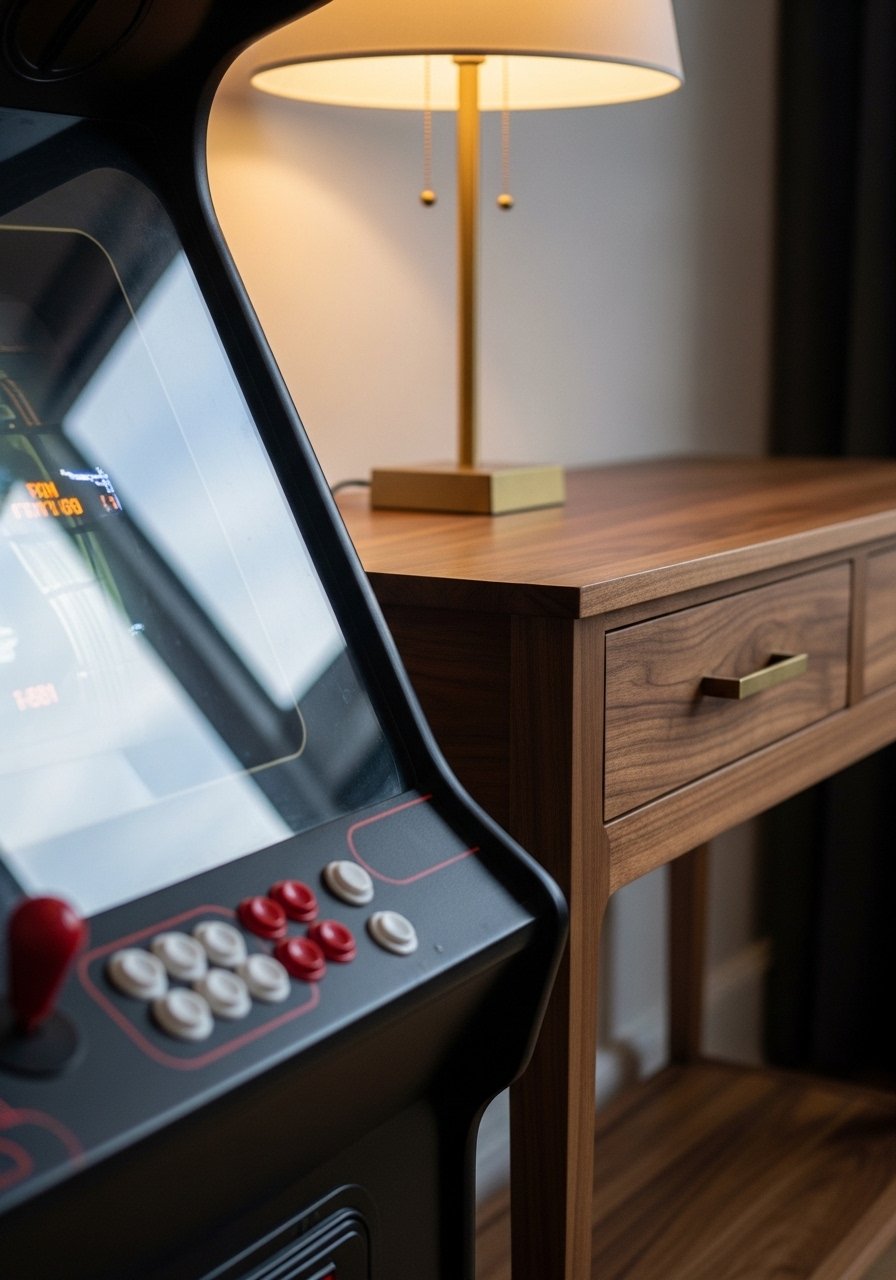
My first gamer corner felt like a showroom because every surface was the same material. Swapping in a walnut console table next to the arcade cabinet broke that monotony and added an anchor. Use the 80/20 color ratio here, 80 percent warm wood and neutrals, 20 percent neon or retro color pops. I keep a small walnut console table for cables and game boxes. Common mistake is crowding the cabinet with collectibles. Give the cabinet a breathing zone of at least 12 inches on each side so it reads like a feature. If your ceiling is low, mount a narrow shelf above the cabinet instead of a tall lamp.
Stream-Ready Desk With Symmetry and Texture
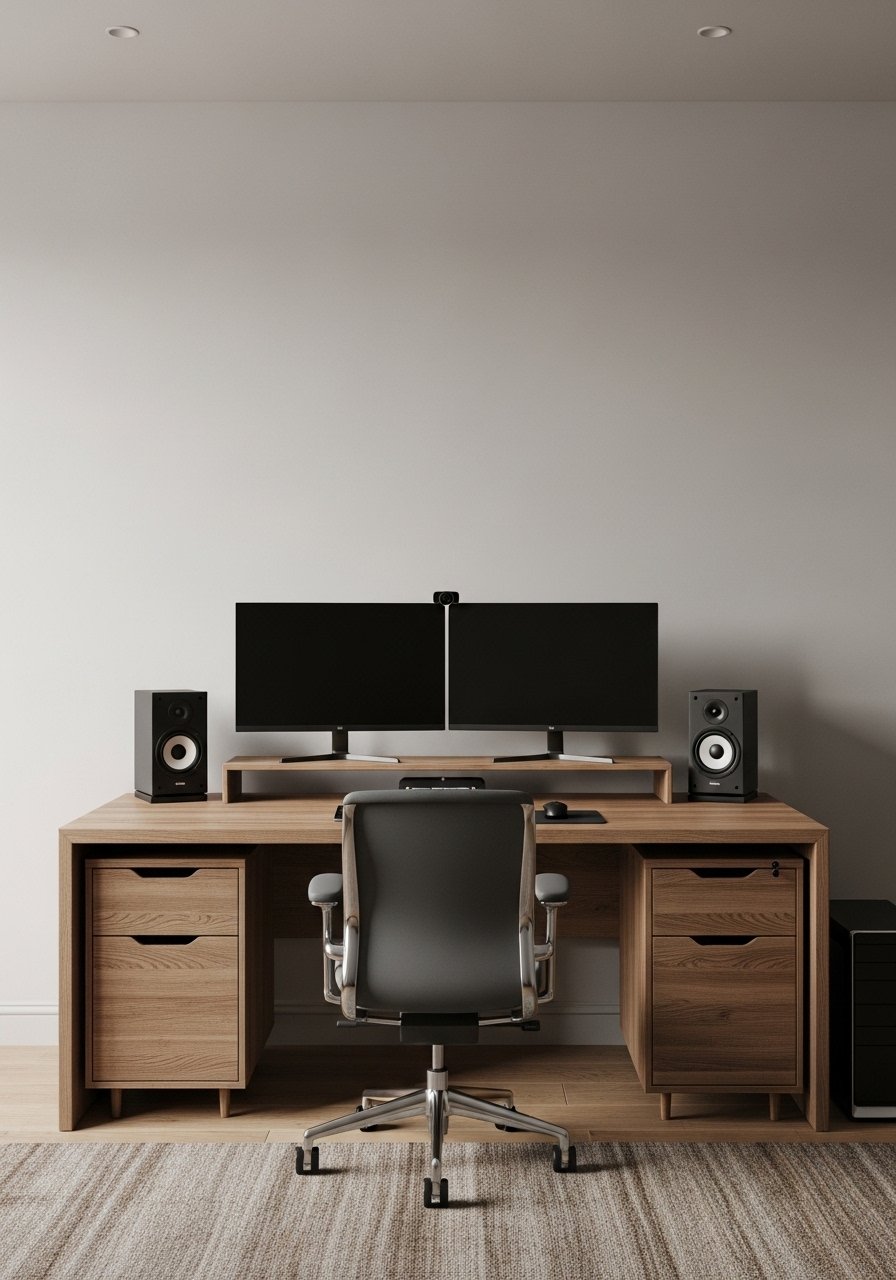
I stopped buying the cheapest desks and started matching materials. A solid wood desk grounds the monitors and pairs well with woven textures, which soften screen glare. Place monitors at eye level with the top third of the screen aligned to your eyes, about 20 to 28 inches away. I use adjustable monitor risers that hide power strips underneath. People overcrowd the desk with trinkets. Instead, use the rule of three on the shelf above: one lamp, one plant, one framed print. That small edit cut visual noise and made streaming backgrounds look intentional.
Console Wall Built For Display and Storage

Before I designed a console wall, all my games were in a pile. The trick is mixed display and closed storage. Measure the tallest boxed console and leave 2 inches clearance per shelf. Use a mix of cubbies with doors and open slots so controllers and cables disappear behind shaker-style doors. I rely on stackable storage cubes in matte black for uniformity. A classic mistake is matching every shelf width to the TV. Vary shelf heights by 4 to 6 inches to accommodate consoles and to keep the eye moving. This wall works for living rooms or finished basements.
Layered Lighting for Late-Night Sessions

Gaming under a single overhead light makes the room feel flat and fatigues your eyes. I added layered lighting, one lamp for reading, bias LEDs behind monitors for eye comfort, and a dimmable overhead for general use. Bias lighting should be 10 to 20 percent of your screen brightness and be placed 6 to 12 inches behind the monitor. Start with LED bias light strips that change color. A common error is making everything either too bright or too cold. Aim for warm bulbs near seating and adjustable cool tones for gameplay. This makes the room usable late at night and cozy between sessions.
Vintage Gaming Shelf With Grouped Collections

I used to scatter my cartridge boxes across three rooms. Grouping collections visually solves clutter and becomes decor. Arrange items by color or era, and use the rule of three for groupings. A good shelf depth is 10 to 12 inches for cartridges and small consoles. I keep a set of clear acrylic risers to create levels so nothing hides behind something else. Mistake people make is trying to display everything at once. Rotate collections seasonally. That keeps the space fresh and gives you a reason to re-curate.
Cozy Seating Nook With Mixed Textiles
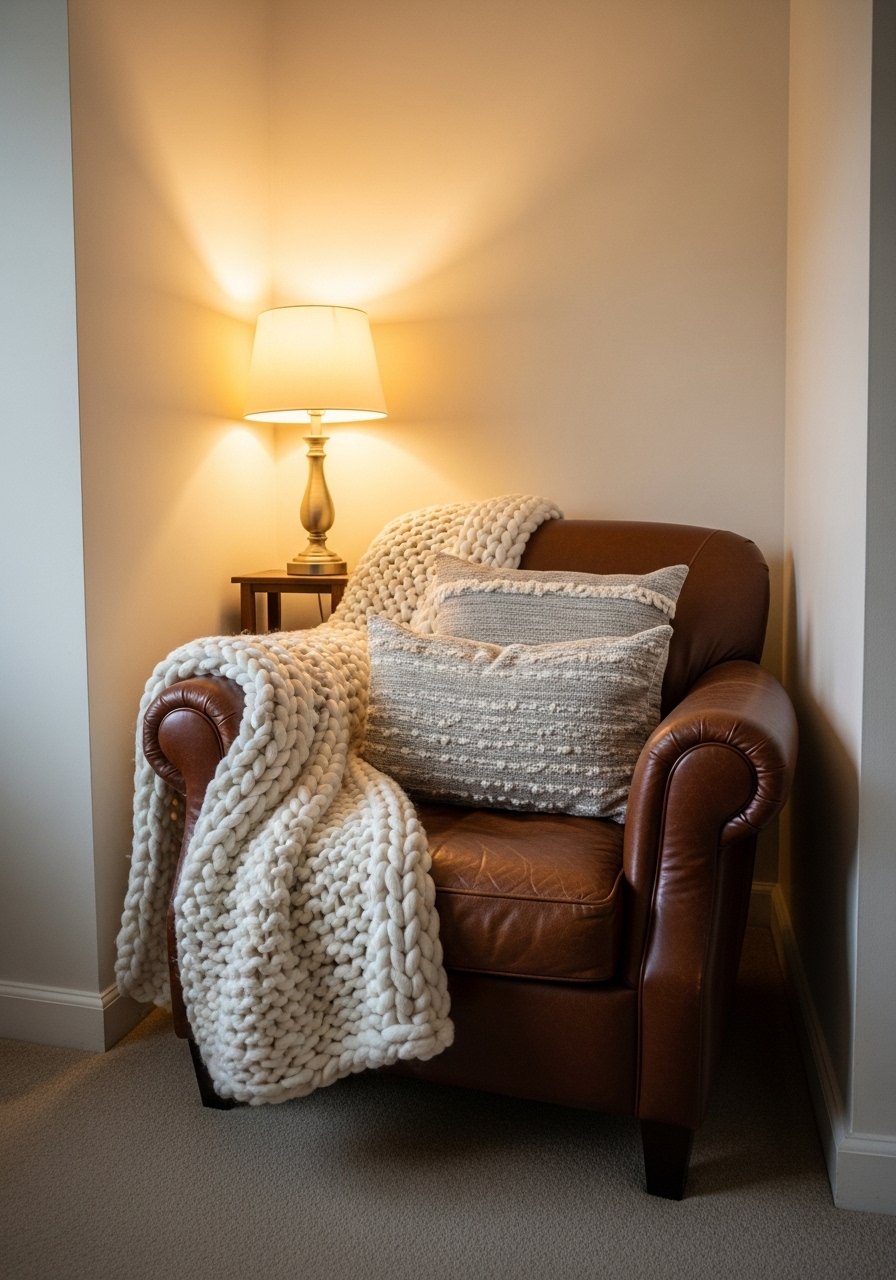
There was a chair in my gamer room that looked uncomfortable but cost a lot. Replacing a throw and two pillows changed everything. Use a 22-inch down pillow plus a smaller 14-inch textured pillow layered for depth. I recommend chunky knit throws in neutral tones because they add weight without competing with RGB gear. Many people skip a small side table and end up with sweaty drink rings on consoles. A compact wood side table fixes that and ties into traditional materials for a grounded feel.
Acoustic Panels Styled As Wall Art
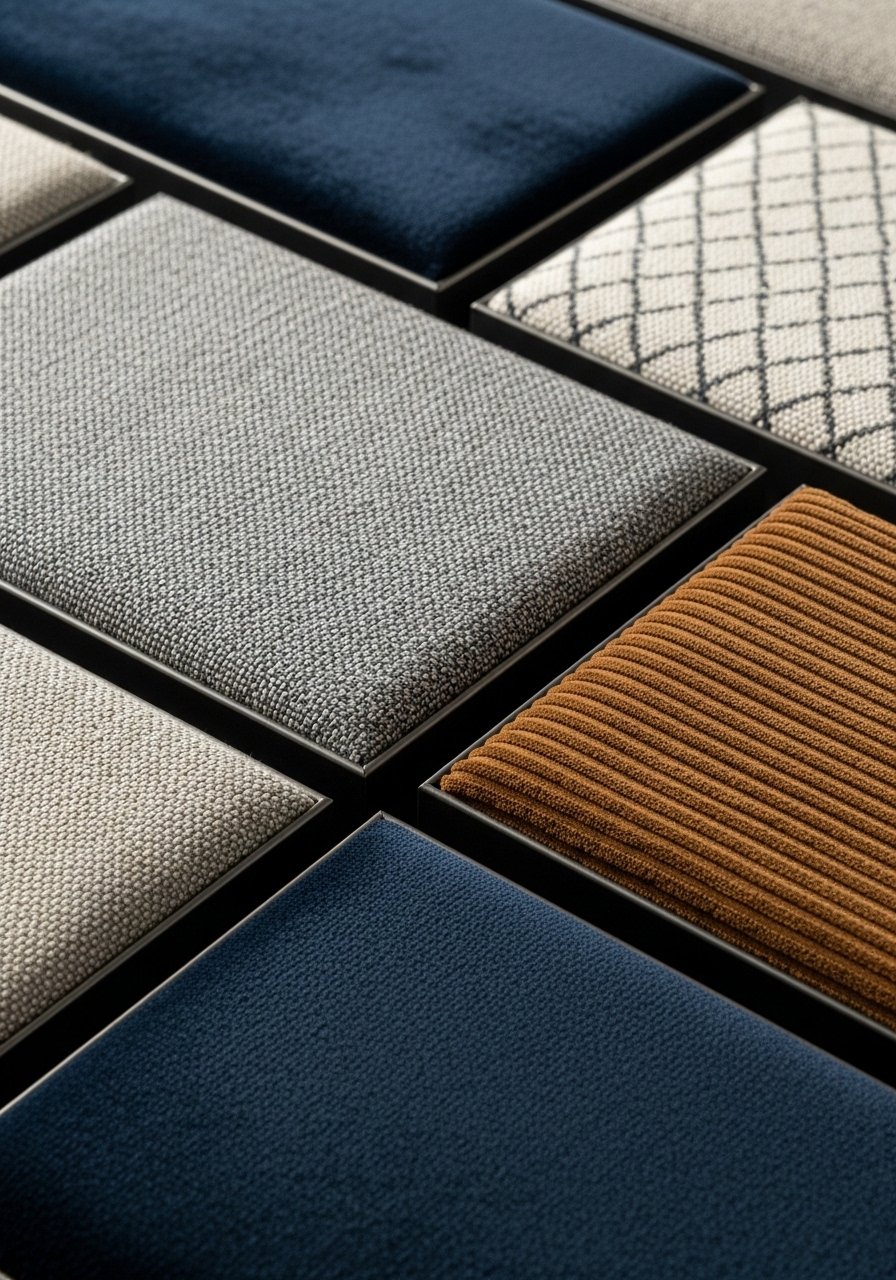
The first time I added acoustic panels I expected them to look clinical. I chose fabric-covered panels in warm tones and hung them in a three-by-three grid. They cut echo and pull the wall together visually. Use a mix of sizes, like three 24×12 panels and six 12×12 panels, to keep a casual rhythm. I link to fabric acoustic panels that come in muted plaids. A frequent mistake is spacing panels evenly across the wall. Cluster them within one plane and leave negative space around the TV so the setup feels intentional, not wallpapered.
Framed Poster Gallery With Uniform Mats
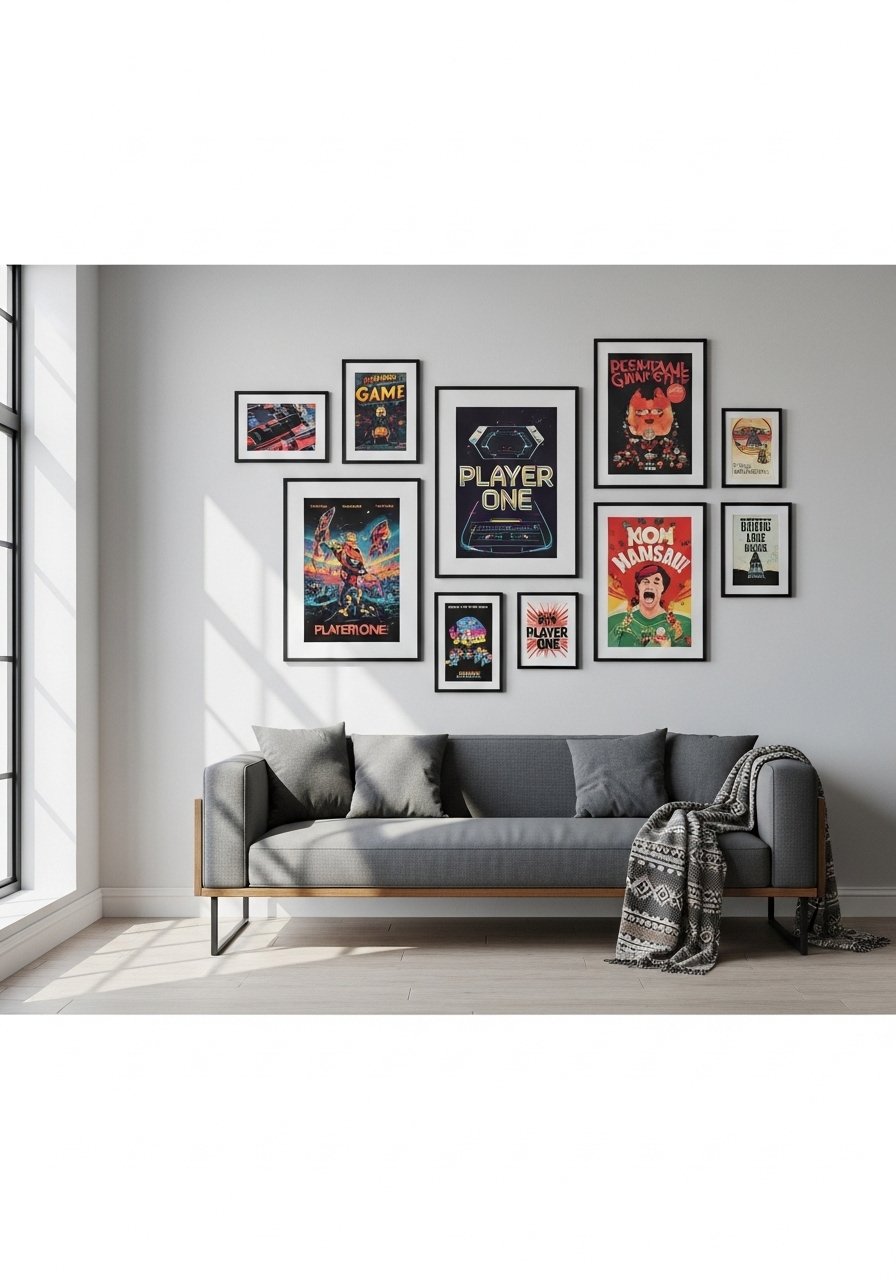
I hung posters with mismatched frames for years. The room looked busy and sloppy. Switching every poster to the same black frame and white mat calmed the whole wall. Use a 2-inch mat for 11×17 posters and keep 2 to 3 inches between frames for breathing room. I use black gallery frames with mats to get a museum feel without spending a fortune. One mistake is placing the gallery too high. The center should sit at 57 inches from the floor, or lower if you sit a lot, like at a gaming bench or sofa. Pair this with the console wall idea for balance.
Hidden Cable Management Behind a Sideboard
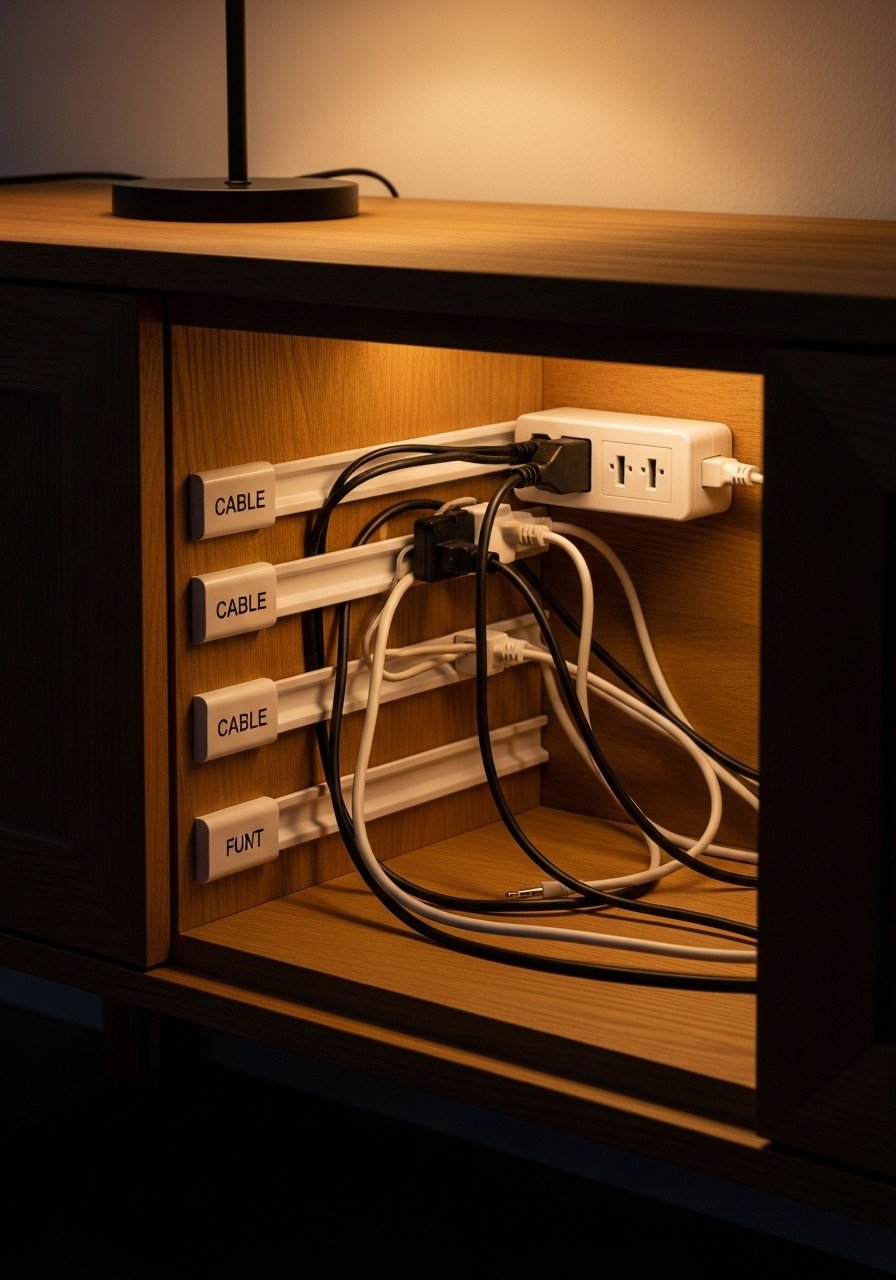
Cables make even a pretty room look unfinished. I built a shallow sideboard to sit under the TV and routed power through labeled channels. Leave 2 to 3 inches of clearance at the back of furniture for airflow. I keep a mountable power strip inside to keep everything behind closed doors. The common mistake is using zip ties only, which looks messy from the sides. Use adhesive cable raceways along the rear and a small Velcro strip for each bundle. It keeps everything serviceable and makes the whole room read as intentional.
Your Decor Shopping List
Textiles
- Honestly the best $40 I have spent. Chunky knit throw in cream 50×60 inches for the seating nook
- 22-inch linen pillow covers, set of 2 in warm gray
Wall Decor
- Black gallery frames with mats, set of 6 for posters
- Fabric acoustic panels, 12×12 pack of 6 in plaid and charcoal
Storage & Furniture
- Walnut console table 40-inch for arcade corners, similar styles at Target
- Stackable storage cubes, set of 4 in matte black for console organization
Lighting & Tech
- LED bias light strip for monitors with remote for color temp control
Shopping Tips
White oak beats dark wood for a fresh traditional look. White oak floating shelves read current and keep the room from feeling heavy.
Grab LED bias light strips for $20. They reduce eye strain and make your stream backdrop look intentional.
Curtains should kiss or puddle the floor, not hang halfway up. 96-inch linen panels are right for 9-foot ceilings and add texture behind a gaming desk.
One tall plant beats five tiny ones for presence. Try an artificial fiddle leaf fig 6-foot if you need height without maintenance.
Frequently Asked Questions
Q: How do I make a gamer room feel warm and traditional without losing the tech vibe?
A: Mix materials. Pair tech with warm woods, a 22-inch linen pillow, and a chunky throw. Add one classic piece like a walnut console to anchor the room and keep RGB accents to 20 percent of the palette.
Q: What is the easiest fix for too much clutter around consoles?
A: Closed storage. Use stackable cubes or a sideboard with at least 2 inches of rear clearance for cables. Label power strips and rotate out display items so only a curated selection is visible.
Q: Can I mix modern LEDs with vintage posters without clashing?
A: Yes. Keep posters in uniform frames with white mats and use warm-tone LED settings for ambient light. That contrast gives a curated, museum-like look.
Q: Will acoustic panels make the room look like a studio?
A: Not if you treat them as art. Choose fabric-covered panels in warm tones and arrange them in clusters. Use size variation and leave negative space so they read as deliberate decor.
Q: What rug size should I get for a gaming seating area?
A: Bigger than you think. For a small sofa and chair layout aim for at least a 6×9, but 8×10 anchors most living-room-style setups. Make sure the front legs of seating sit on the rug to unify the zone.